 Mail clients for the Android operating system are diverse, they differ in functionality and appearance. One of the most famous utilities that appeared back in the era when no one heard of smartphones is Microsoft Outlook. Several years ago, it was ported to Android as well. This article will cover the specifics of the installation and functioning of Outlook for Android.
Where to begin
Now step-by-step instructions on how to install and configure the program on a mobile shell:
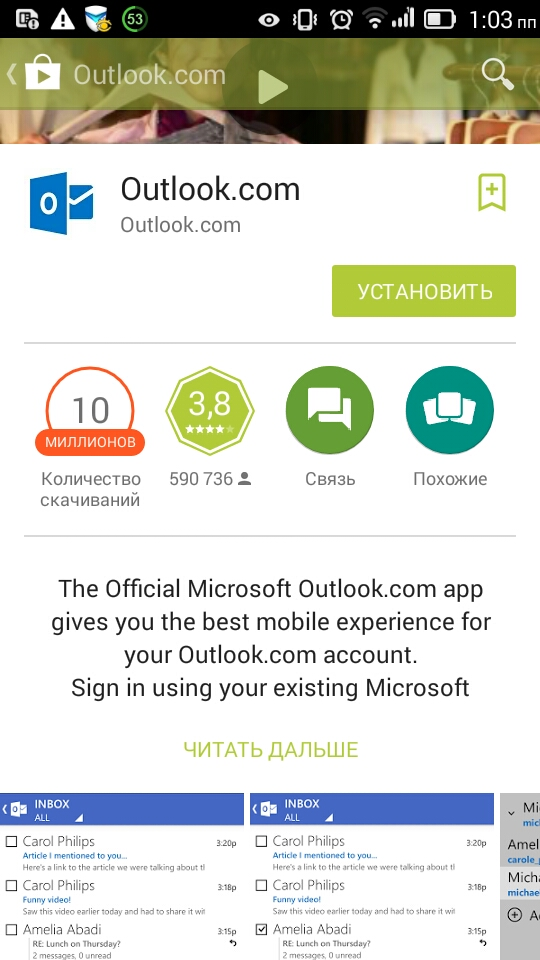
- First of all, you need to go to Google Play and download and install the program.

- After the installation is complete, run the utility.

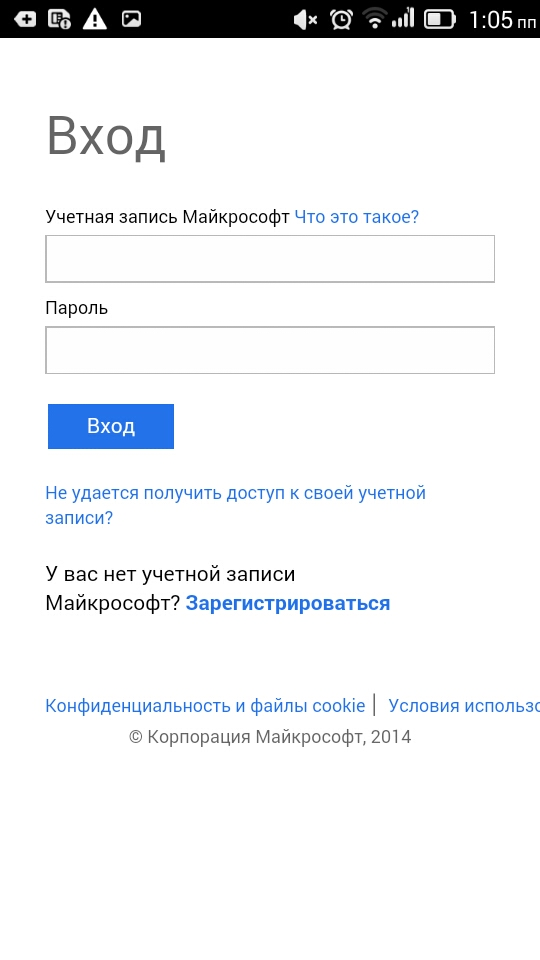
- If you already have an account in the system Microsoft, then just enter your login and password. If not, then you need to register.
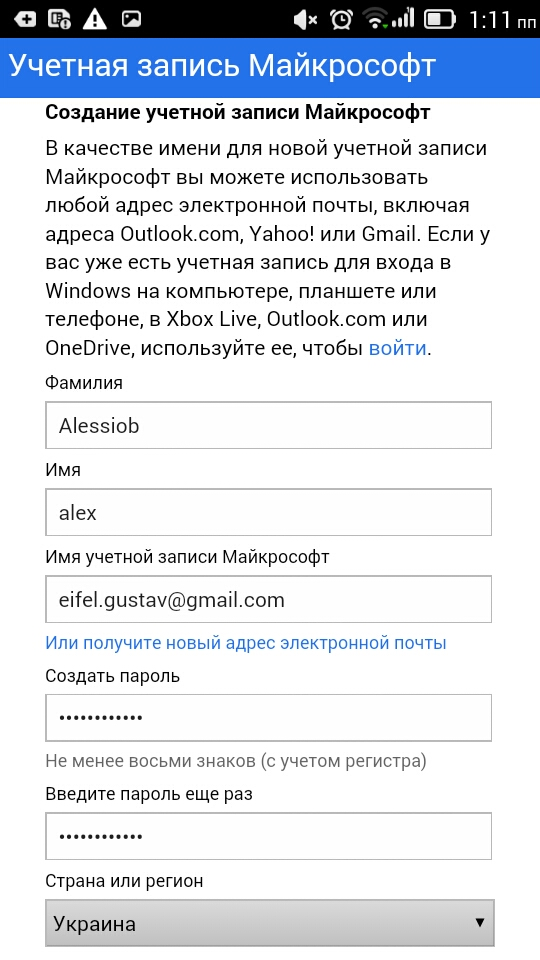
- A menu will appear where you need to enter your data. There is nothing complicated in this. You need to enter the name, login in the system, email address that is already in use. The phone number is entered optionally, you can or can not do this.

- After clicking the 'Continue registration' button. A notification will appear informing you that a confirmation email has been sent. If any data was entered incorrectly, they can be changed by writing to the service support.
 Confirmation letter notification
- After confirmation, a window will appear again where you must enter your username and password, which were specified during registration.
- Next, the system will ask for permission to access the credentials, after which the verification and account setup will begin.

The data in the fields can be left unchanged.
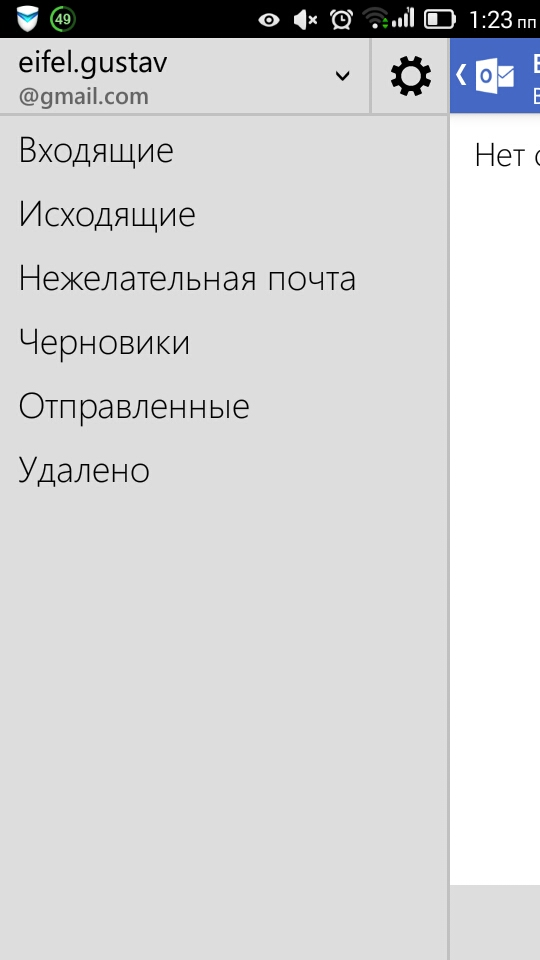
- After the last synchronization, the program's capabilities will become fully available. Its use is not much different from the exploitation of other mail clients.

At this stage, setting up Microsoft – mail for Android will be completed.
to the content
Mail client for the Android system: Video
to the content
Possible problems
Setting up a client on Android is quite simple, but in some cases, built-in antiviruses can block access to some data, which is why the program will not be able to sync. It is also important to enter all the information correctly, if you make a mistake by one letter, the letters will no longer reach.
to the content
What to do if the utility fails
If you cannot get Outlook to function normally on Android, you should use a standard email client:
- Select the Email icon from the menu.
- Next, select the manual setting item.
- In your account settings, select Exchange.
- In the next window, enter the mailbox address, password, everything else is left unchanged, except for the server. There, enters.outlook.com.
- In subsequent windows, click only 'Next'.
- After the end of synchronization, all messages from the e-mail box will become available.
 Incoming mail
Thus, you can understand that setting up the Outlook mail client on the shell Android will not be a problem.
to the content
