 On phones with Android OS, calls and sending messages are no more important functionality than sending and receiving letters from a mail service. But in order to use e-mail, you will have to perform a number of actions. And some users may not be able to correctly organize their mail the first time. Therefore, I would like to suggest, using one of the examples, to see how to set up QIP mail on Android.
Beginning of work
First, you need to start the Mail client, in my example, a standard application will be used.
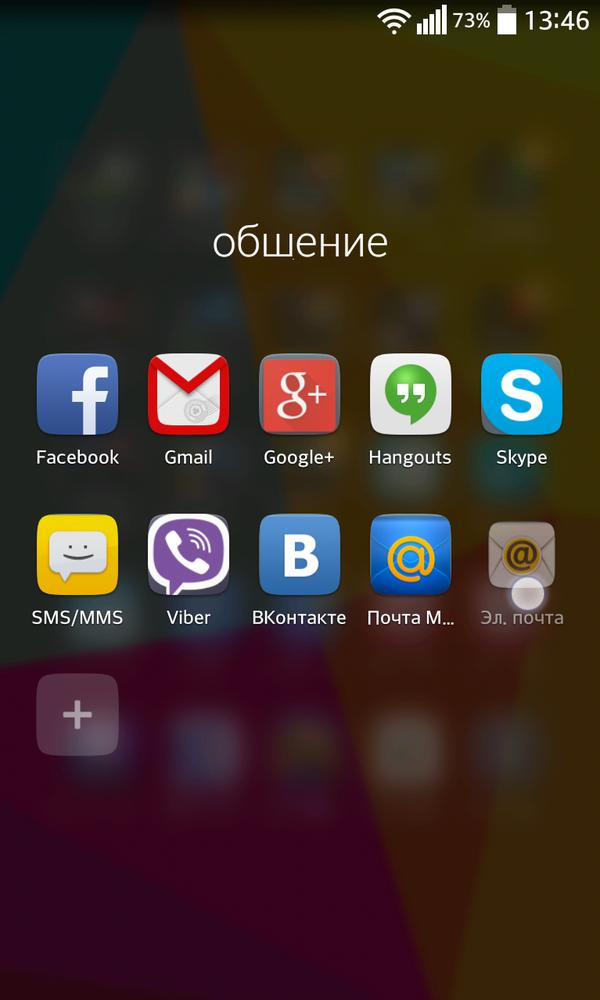
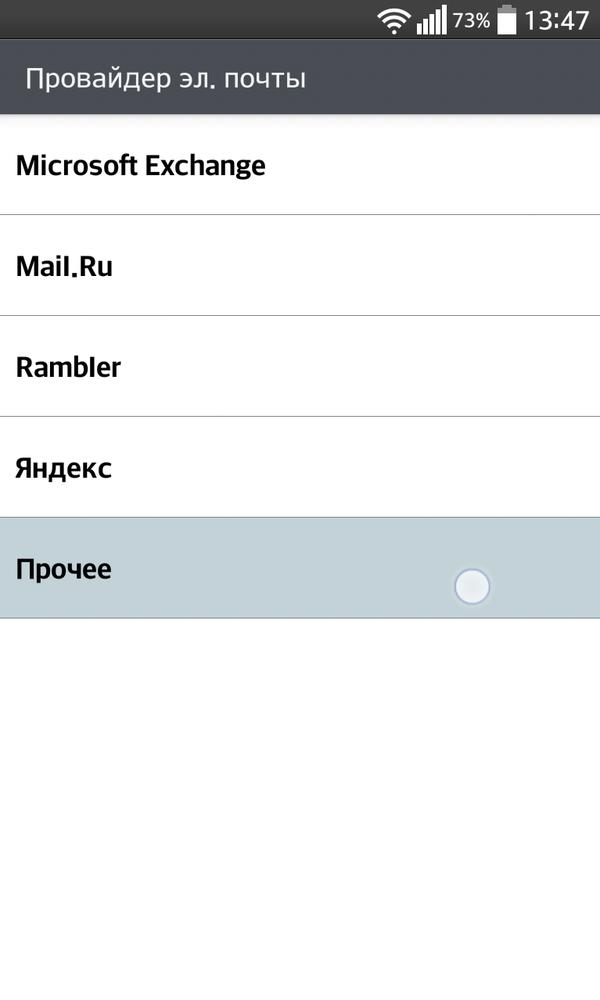
After the program starts and offers a list of popular mail services, we need to click on 'other'.
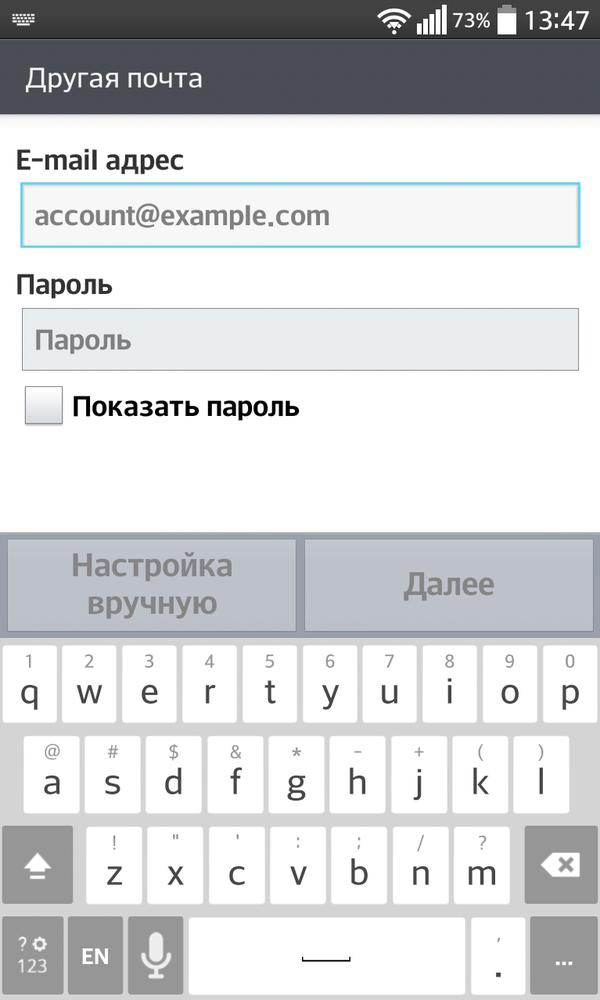
The next step in the Email field you will need to enter the address of the mailbox that you have qip.ru, and in the next field the password from this mailbox and click 'next'.
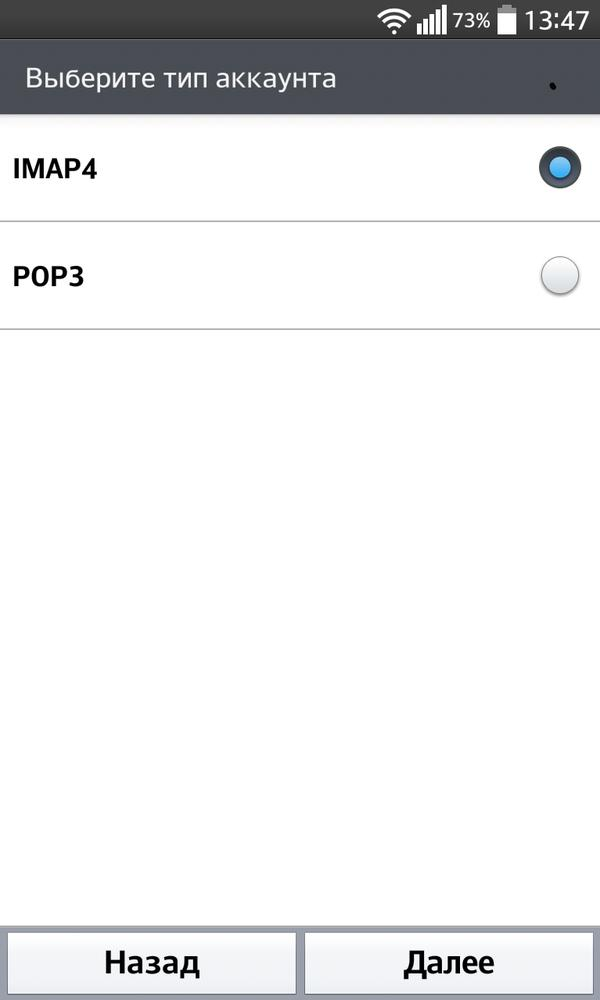
In the next window select the 'IMAP4' protocol and move on.
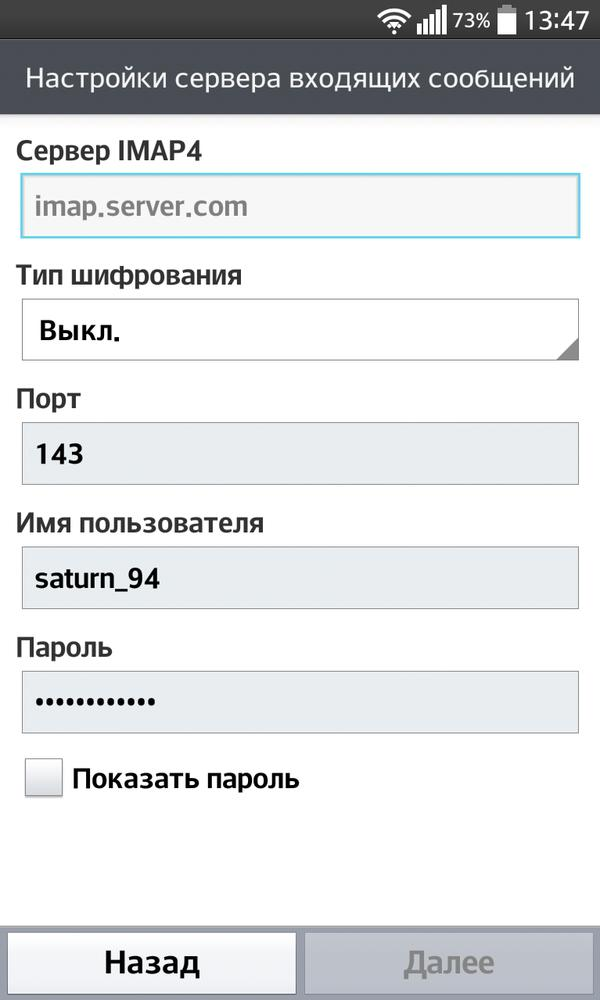
A window will appear in front of you, which is called 'Configuring the server of incoming messages'. It will need:
- In the Server line, enter imap.qip.ru
- Choose encryption type no
- Port dial 143
- In the username, write your Qip.ru mail address
- In the Password field, enter the password from the mail. box.
- Go further
Note:
Also, you can put SSL in the encryption type, but then the port must be 993.
to the content
Setting up Mail.Ru mail on Android: Video
to the content
Setting up a message server
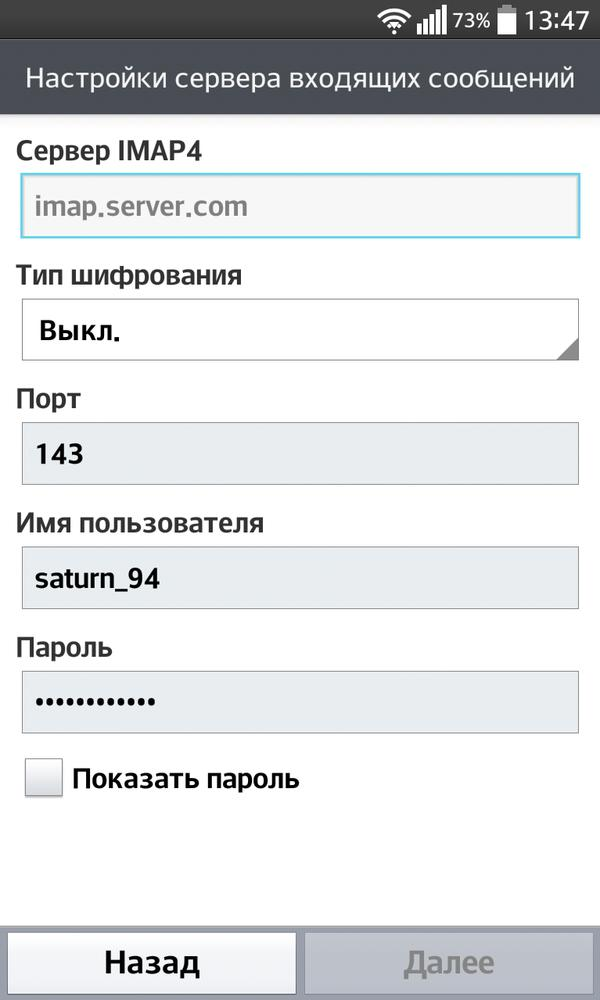
After that, you will need to configure the 'Configure the server of outgoing messages' page
- In the line SMTP Server, drive smtp.qip.ru
- Encryption: leave no
You can also choose SSL
- Port: 25
- Check the box next to “require login”
- Perform the username and password in the same way as in the previous window.
One of the last windows will contain a notification that your mailbox account has been successfully configured, you can wait for new notifications. If desired, you can configure the display of your name on your device and your name, which will be displayed in outgoing messages.

And the last step is just to click on the 'next' button.
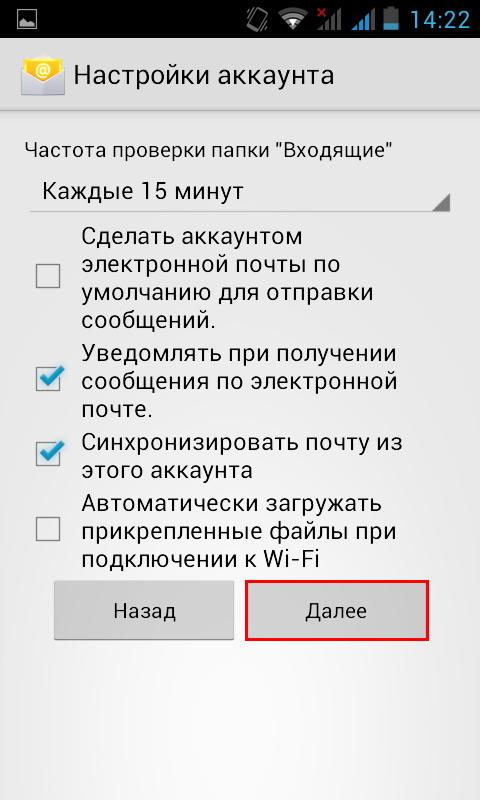
This and all Android QIP mail setup, as you can see, if you know what to enter, this procedure will not take much time and labor.
In a similar way, you can set up any mail on Android, not only QIP.
to the content
