 Usually, few people are interested in connecting the camera to Android, because Android devices already have a built-in one, or even two. But there are situations when it breaks down (breaks or becomes very dirty with dust so that the device does not see anything). If you suddenly become the owner of a broken camera, I will explain how to solve this problem.
USB camera connection
What you need so is the presence of a USB connector or support for OTG connection on your phone or tablet. The connection is not difficult, using the USB protocol and the presence of drivers for installation.
If you do not have the necessary drivers, then the solution to this problem is to download software from official sources. But, you may not need the drivers, since the system Android can perform the settings without third-party help.
to the content
So, let's start connecting
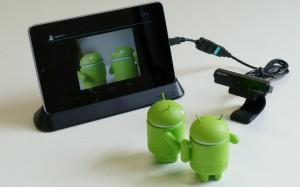
- Connect the USB webcam to your device via a USB cable. You need to make sure the phone detects the new device. The phone detects the device as a storage device.
- If suddenly there is a switch on the webcam, make sure that the webcam is turned on.
- If the webcam is found, restart the gadget. And everything is ready, we can use it. Easy and very fast for me!
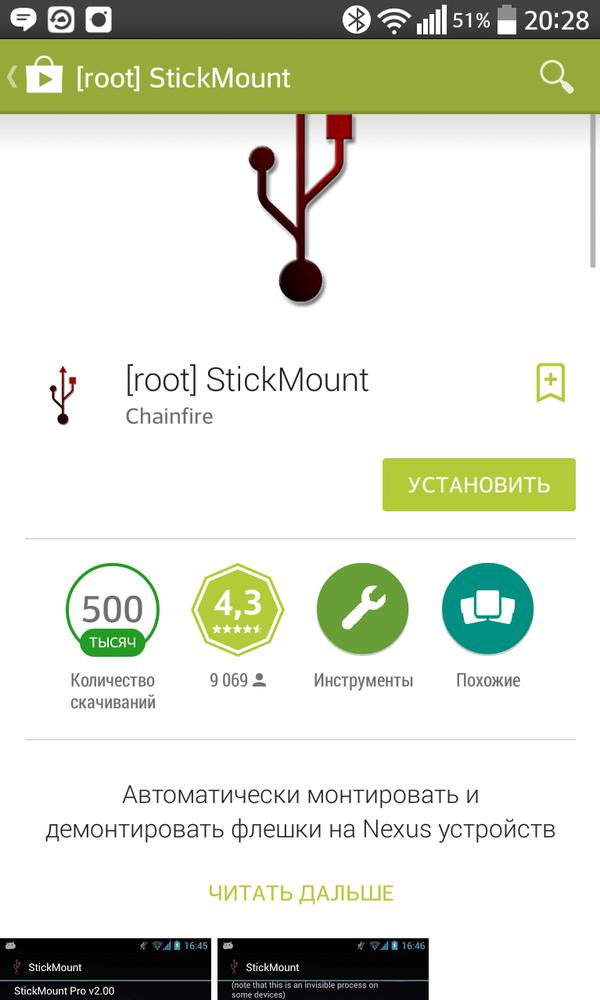
If suddenly you were unable to connect to the camera Android, then I advise you to download a program called Stick mount from Google Play. Root rights may be required for this application to work correctly. Stick Mount helps your device automatically recognize an external camera via USB and gives you a list of all found devices.
It turns out that thanks to this program, you can connect up to several devices at the same time, which for some users will be very useful.
to the content
How to get ROOT rights: Video
to the content
Download Stick Mount at the following links
- free lite version
- full Pro version
Now, with the help of a USB webcam, you can shoot videos and take pictures. If the tablet does not want to play the files made by the camera, then you need to change the shooting format in the settings, you need to specify MPEG4 or AAC.
to the content
Camera enhancement for Android: Video
to the content
How to connect Wi-Fi camcorder to Android
If you are the lucky owner of a camcorder that can connect wirelessly Wi-Fi, then I will explain how you can connect using the DSC-QX100 as an example, as for me, this is the best camcorder for Android with wireless pairing, so as a bundle via Wi-Fi, this is its direct purpose.
Here is a step-by-step guide on how to connect a Wi-Fi camera to Android:
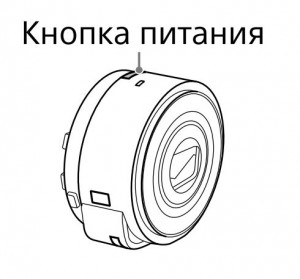
- To connect, you must first turn on the power of the camera.
- Launch “Play Memories Mobile” software, which is free on Google Play.

- Select the SSID found under the camera battery cover or in the camera manual on the cover.
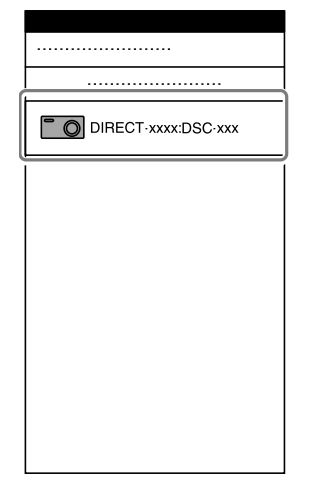
- Enter the password, which is written on the same sticker as the SSIDcode.
- then you need to touch the NFC tag of the smartphone to the NFC tag of the camera. Power On: Touch the devices and hold them for 1-2 seconds until “Play Memories Mobile” starts up. Power off: you need to touch the smartphone camera, and do not remove it until the lens extends.
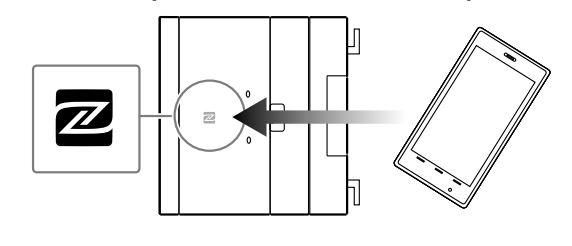
By connecting such an external lens, you can shoot gorgeous video and take great photos that the built-in camera can take.
You can find Play Memories Mobile and install it on your device by clicking on the link.
Connecting Android to TV via Wi-Fi – link
Connecting Android to a computer via Wi-Fi – link
to the content
