BlueStacks is a program that adapts the operation of applications Android specifically for Windows and MacOS, empowering users of the world's most popular tablets and smartphones. This emulator does not require the installation of a full-fledged virtual environment, at the same time, it provides maximum device performance and pleasantly surprises when using applications on large displays of laptops and personal computers. At the same time, BlueStacks Easy is easy to use and quick to install.
Emulator features
The first thing you should pay attention to after installing the program is the intuitive design of the interface. Even an inexperienced user can easily customize the software to suit his requirements. Moreover, the program has been translated into 30 languages, including Russian.
After installing the application to implement the terms of synchronization, you must log in to your Google account. This will allow you to edit your personal information and contact list without using the Android device directly from your computer in BlueStacks. Other important advantages of the program's functionality include:
- the ability to change the orientation of the display;
- taking screenshots;
- the presence of a 'shake' button;
- the ability to manually set location data;
- implemented loyal conditions for installing apk-files under the shell Windows;
- copying files to cloud storage.
to the content
Why Root on BlueStacks
As already noted, the BlueStacks emulator opens up excellent conditions for the user to run different Android applications on Windows or MacOS. This means useful software and games without limits. At the same time, 'use' does not mean 'get the opportunity to make full-scale changes to them'.
Just like on a tablet or smartphone running OS Android, you need to get superuser rights in BlueStacks. This will help optimize the performance of any applications running in the emulator. Thanks to skillful rooting, you will get rid of annoying ads and can disable most of the additional functions that load the system during the application launch process.
to the content
Rooting with BlueStacks Easy
To successfully root BlueStacks, you need the latest version of BlueStacks Easy, and you can download it in just a few clicks. This software is available for free both on the official website and on various mirrors.
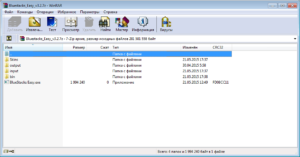
After downloading the program, you need to install it and start getting root access. The rooting procedure involves the following steps:
- Checking the BlueStacks version.
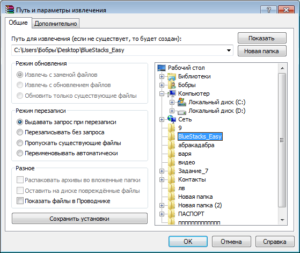
- Unpack the BlueStacks Easy utility to any convenient directory on your PC.
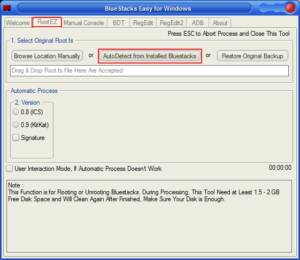
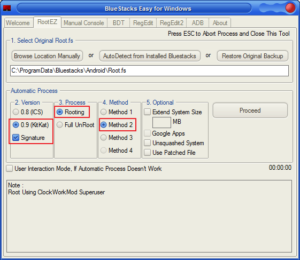
- Launch the program and go to the 'RootEZ' tab. Click 'Auto Detect from Installed BlueStacks' to automatically detect the path to root.
- Go to the 'Version' tab, select our version of the program and put a tick in front of the 'Signature' field.
- In the column 'Process' put 'Rooting' and click 'Method 2'.
- We press 'Proceed' and wait 10 minutes. If the console did not close on its own, enter the command 'rootkk'
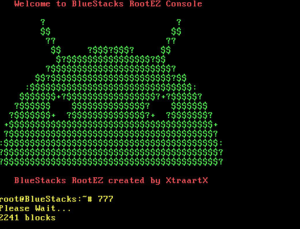
It remains to wait for the automatic launch of root access or launch the application yourself. If successful, the Root Checker program will appear in the emulator, informing about the presence of superuser access.
to the content
Downloading and running apk files
The easiest way to use the BlueStacks emulator is to directly download apps from Google Play. Nevertheless, sometimes it may be necessary to install additional software that the store cannot provide. To do this, users who were able to root the emulator using BlueStacks Easy for Windows can use a simple instruction:
- Download the apk-file of the program and move it to the emulator window.
- Confirm your actions in the window that opens. If the installer does not start on its own, you will need to configure it manually.
- Wait for the installation to finish and use it.
to the content
Setting up data in BlueStacks
In the process of obtaining root rights, the user of the emulator does not have to manipulate the program – the procedure takes place in a semi-automatic mode. At the same time, with the full use of the program's potential, you can change the screen resolution, select the input language, create additional accounts and customize the list of configurations, just like in your favorite smartphone or tablet. It is also possible to configure access to files Android and Windows – devices.
to the content
Other ways to root BlueStacks
There are several ways to get superuser rights in BlueStacks today. Many of them are much easier than what the official manufacturer suggests. One such method is to use. This program is installed into the emulator shell, and even inexperienced users can use it to root.
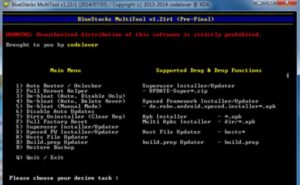
If for some reason it did not suit you, pay attention to other programs. Many developers on the Internet offer their own universal solutions to the problem. One of them is the program.
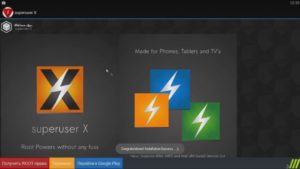
After unpacking and launching this software, just click the 'Get ROOT-rights' button and the BlueStacks application can work.
to the content
