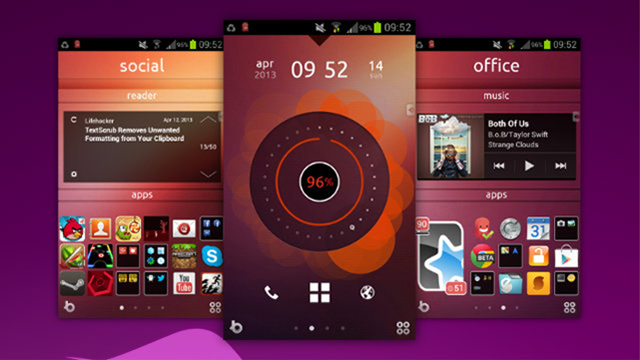
 The Android operating system is distinguished by its functionality. One of the options that few people know about is the installation of an additional shell, parallel to the operating system. Recently, the developers have added the ability to install a new version of Ubuntu on Android. Switching between shells is possible using the utility installed at Android. This essay will detail Ubuntu installation on Android.
Where to start installing Ubuntu
Installation of this operating system is possible provided that the Android shell is running, version not lower than 4.2. Also, the system must have at least 2.5 GB of free memory, the bootloader options must be unlocked and the 'USB debugging' mode must be enabled. You need to install Linux on your computer.
Next, we proceed to the installation itself:
- On a PC in Linux, through the terminal, enter the commands to start installing the Ubuntu operating shell on Android. Next, you need to update the drivers on the device through the 'device manager' panel in Windows.
- Then, unlock the bootloader and set the ADB mode.
- The next step is to connect your phone or tablet to the computer, if everything is going on correctly, then you can proceed to the next operation.
- Before installing Ubuntu on Android, it is important to go into the settings, see the firmware version and write it down, so that in case of unsuccessful manipulations, you can restore exactly the one that worked on the gadget.
- On the official website, you need to download a special script. After that, reopen the terminal in Linux and install the script there using the chmod + x dualboot.sh command.
- Further, it is important to make sure that everything described above has been done correctly and that you can proceed to the next steps.
- It is required to install a special module on the gadget. If you do not have superuser rights, you must enter the command ./dualboot.sh FULL in the terminal, but if you have such rights, then the command will be different – ./dualboot.sh UPDATE.
- After that, the Ubuntu installer should appear on the desktop in the Android gadget. On the computer at this time, it will be possible to remove unnecessary applications from the gadget if there is not enough space.
- The installer is activated on the gadget and among the proposed download channels, you should select 'Trusty'.
- The last step is to set up 'superuser' permissions and select 'Reboot to Ubuntu' from the options offered. If you turn off and turn on the device, the same Android will appear.

to the content
Advantages of using Ubuntu over Android
If you use Ubuntu instead of Android, you will notice that the former has more features and is more flexible. Also, many traditional PC applications that could not be installed on Android load and run with ease on Ubuntu. The debug system and some other options are also noticeably more stable.
to the content
What problems may arise during the installation process
If everything is done correctly and the OS is installed according to the above instructions, it should work correctly, but in some cases errors may occur. First of all, you need to check if the version of the Android shell meets the requirements (as mentioned above, you need a version at least 4.2).

Also, before the whole procedure, you need to unload unnecessary applications from memory and test the shell with an anti-virus program. In the case when no manipulations help, it is possible that Ubuntu is not supported by the device. Initially, the shell was created for a tablet, and it is gradually being adapted for phones.
to the content
