 I propose to figure out a simple way to set a caller's photo in full screen on Android, so that when a call comes in, the photo is displayed on the entire display.
Setting an image to a contact
I'll start from the beginning: I'll tell you how you can generally put an image on a contact.
This can be done in two ways:
to the content
Through the phone book
- Open your phone book.
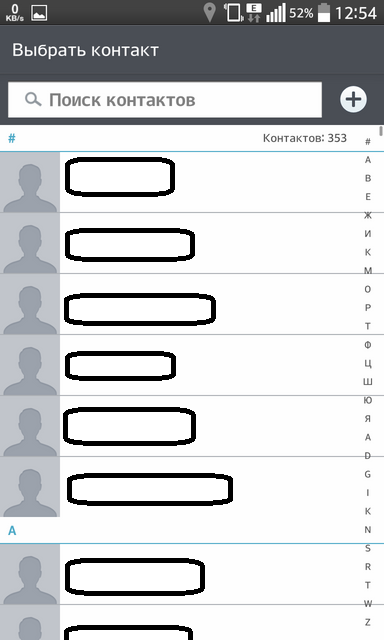
- Select the contact you want to put the image on.
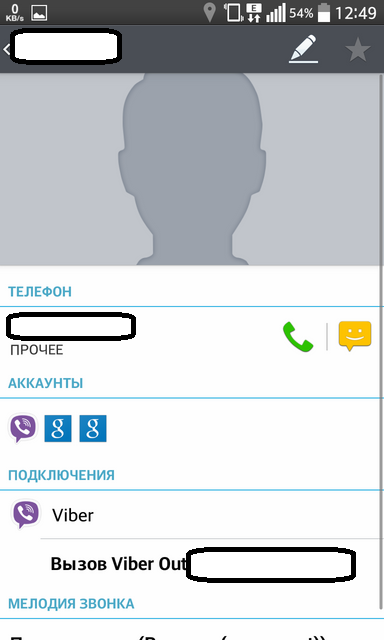
- Tap on the silhouette of the person and select 'Take photo' to take a picture at the moment, or 'Select from gallery' to set an existing picture stored on the device.
to the content
Through the gallery
- Go to the gallery (installed on all devices Android by default).
- Open the image you want.
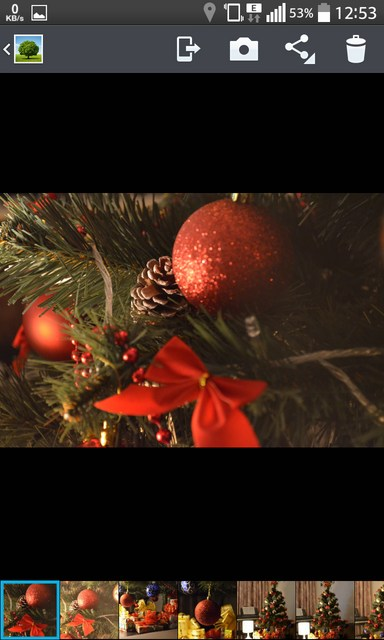
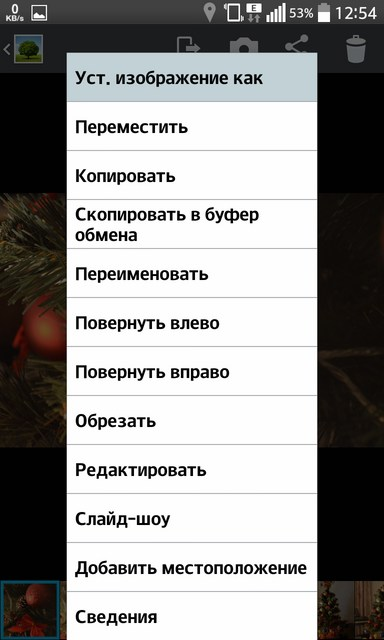
- Tap on the 'Operations' button.
- Select 'Install As'.
- The next step is to open the 'Contact photo' item.
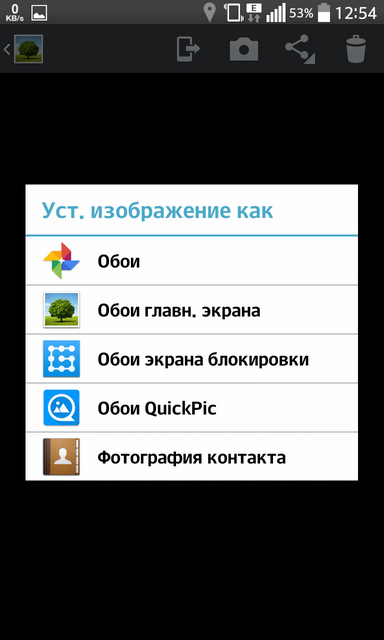
- It remains only to indicate the contact so that the photo will be assigned to him for a call.
Note: Due to the properties of the operating system, these methods do not set the photo to full screen when you call Android 4.0, moreover, it will be of poor quality. But, starting from version 4.1 and higher, the quality has been corrected, but whether it will be on the entire display or not depends on the developer and the technical characteristics of the system.
In this situation, you can use one of the special programs for Android, which allow you to put photos on the full screen when you call.
to the content
Full screen photo on Android: Video
to the content
Using utilities
There are quite a few such applications, but I liked UltimateCallerIDScreenHD, because setting a photo number to full screen for Android is far from its only function. This product can be customized even for a perfectionist, because the program has very fine settings.
to the content
Application setup
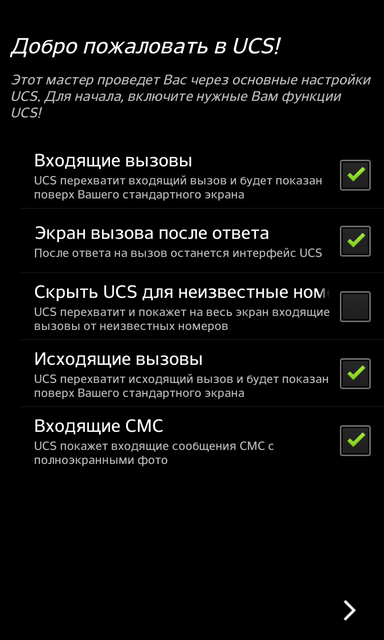
I will briefly tell you what the application will offer on the first launch:
- The window where you will need to provide permission to intercept incoming calls, the response window, incoming SMS, etc. That is, at this stage it is clear that we have a completely independent program with its own functionality.
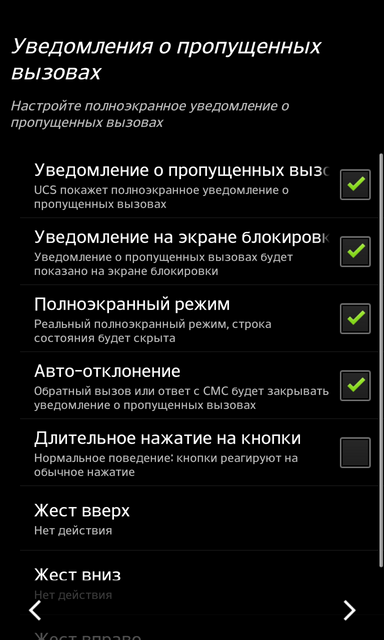
- Next, you will need to configure notifications about missed calls, they can also be displayed on the entire window, including on the locked screen.
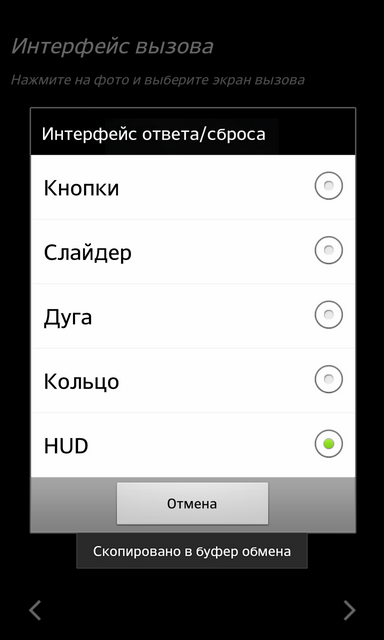
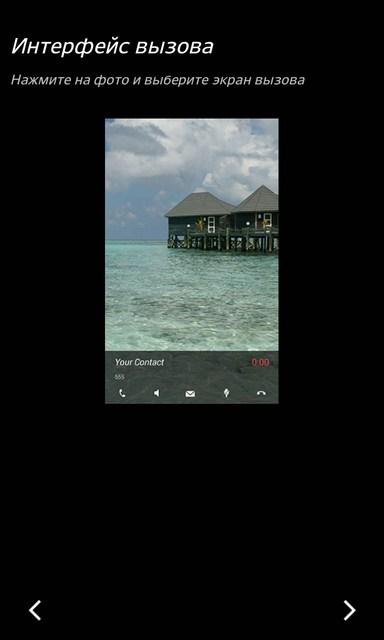
- The next step is choosing an interface. The product offers 5 options (buttons, slides, arc, ring or HUD) that everyone can find to their liking.
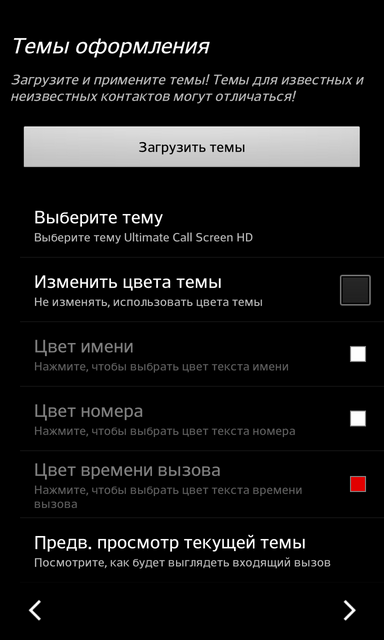
- You will also be prompted to install interface themes manually or download ready-made solutions.
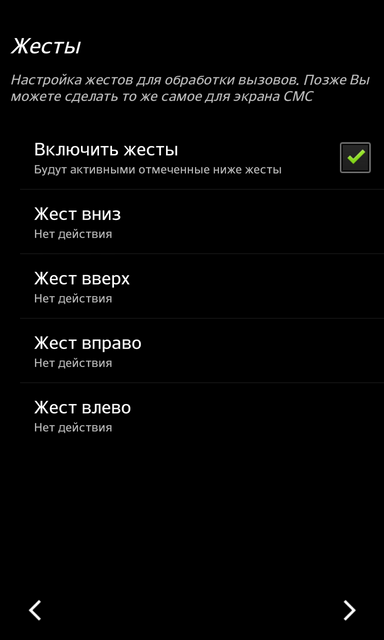
- Set up gesture controls (down, left, right, up) and choose which gesture what exactly will mean.
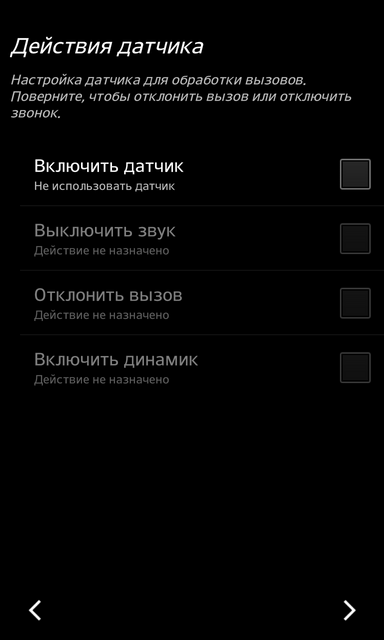
- Determine the action of the sensors: for example, you can simply turn the device over to pick up the call.
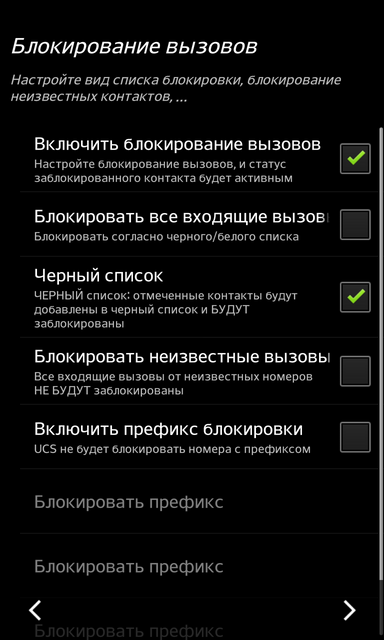
- Set blocking of incoming calls: you can set a blacklist or make it so that all unknown numbers are blocked – perhaps, such an option may be useful to someone.
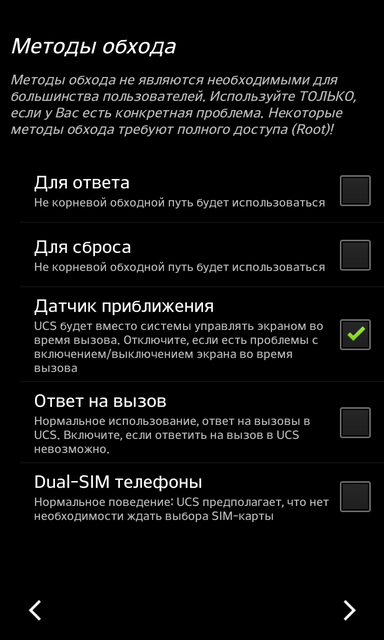
- And the last point – 'Bypass methods' – you can not touch them at all if everything works correctly, and if something is wrong, you should try to check the box that you need, perhaps after that everything will be OK.
- At the end of the work, you will receive a notification that the basic setup has been completed.
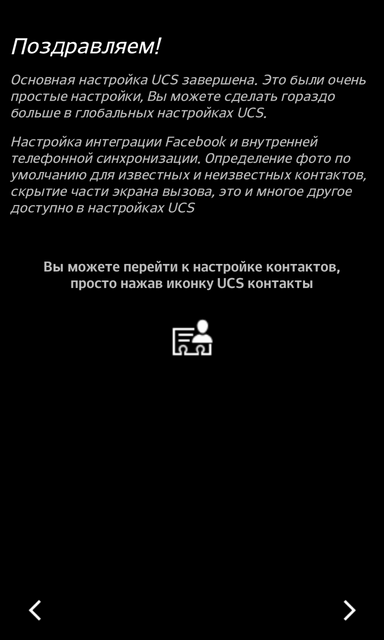
If you don't like to complicate things, you can just skip all the points and, if something goes wrong, in the process, customize the application for yourself through its interface.
to the content
Photo installation
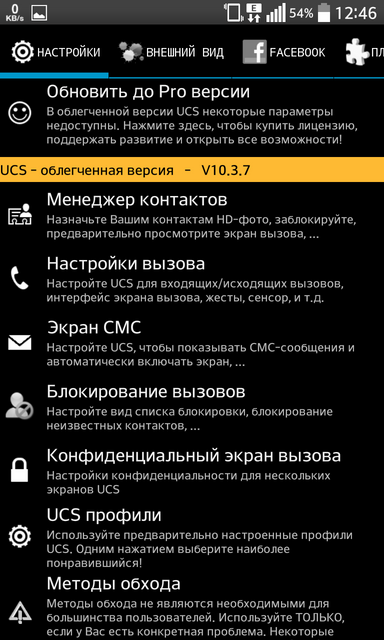
Now, to put the caller's photo on the full screen, select 'Contact Manager'.
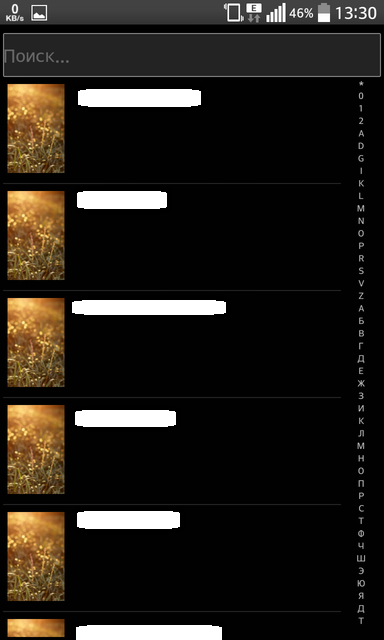
In this case, a single Screen for the call will be set on all contacts.
To set your screen:
Tap on the desired number, a new menu will appear.
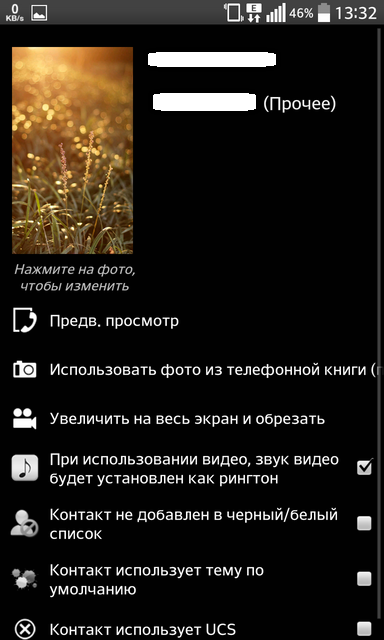
Select the source from where you want to take the image (in the same way, you can put on the calling video).
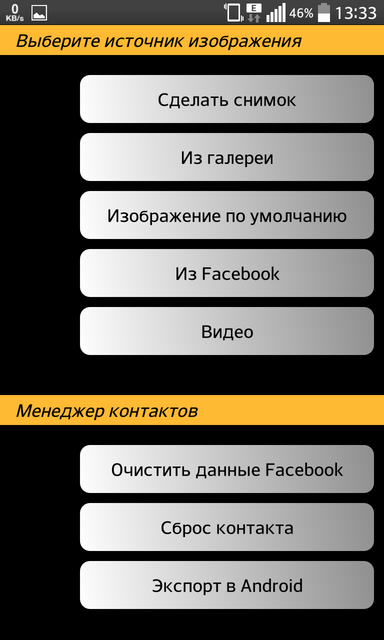
You can preview how the full-screen Android photo will look when you call by selecting 'Preview' from the contact menu.
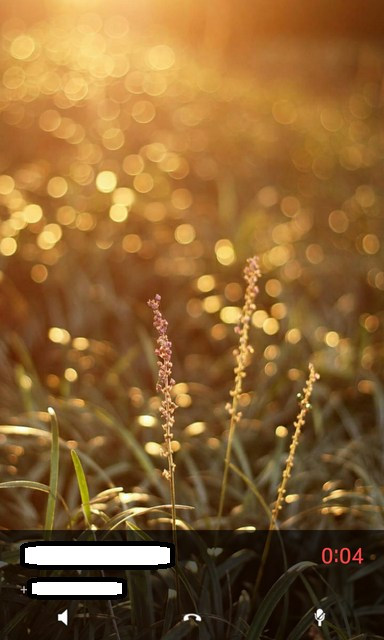
You can see for yourself that the functionality is quite extensive – I am sure that many will find this software product interesting and useful.
to the content
