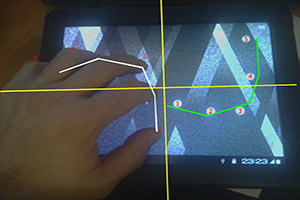
 Many owners of Android – devices with a touchscreen display often face such a problem when the screen is 'not listening' to them. That is, when you touch the touchscreen with your finger or stylus at one point, the phone perceives it as touching completely at another point. Or, the sensor completely fulfills orders with only 3-4 attempts. And most likely the reason for these problems is the incorrect operation of the screen, and in order to fix it, you need to calibrate the touchscreen of the Android device.
What it is?
Screen calibration is setting up the touchscreen to correctly execute commands when you touch it with your fingers or stylus. Of course, you can work with your device without such a setting, but then get ready to waste your nerves, time and other troubles.
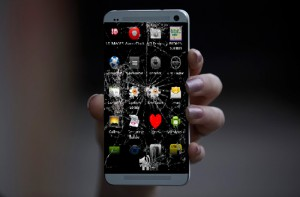
Sensor calibration Android is required in most cases after dropping the phone, especially in water. Replacing the screen, the water stain under it, even the smallest damage may require urgent adjustment. Checking whether you need to carry out this procedure is as easy as shelling pears. First, remove the protective film to make the sensor work as clear as possible, then just enter any number or letter. If you have chosen, say 'B', and 'A' appears on the screen, then be sure – you need to configure the touchscreen.
I also want to note that in a place with a calibration, it may be necessary to adjust the sensitivity of the touch screen. This article details the entire procedure.
In production Android – devices use two main types of screen: capacitive and resistive. Capacitive is now used in the absolute majority, since it is more reliable and of high quality. But with resistive, problems often arise and it requires tuning more often. But it's good that now such screens are rarely used – only in outdated or budget models.

to the content
How do I calibrate the screen?
There are two main ways to tidy up a damaged touch sensor – special programs and with your own hand. You should also remind you that for HTC, Samsung, Nokia and other Android devices, the calibration procedure is almost identical.
to the content
Touchscreen calibration Android: Video
to the content
Setting using special programs
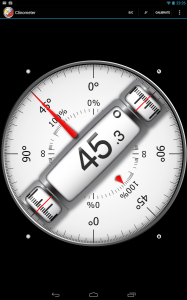
In the free, and most importantly – in the free, access, you can find a lot of software to carry out this process. They are easy to install, easy to operate and, what is important, they give results. For example, Clinometer, TOPON, Bubble – just take a look at Google Play. But even if you do not have access to Google Play, you can customize the display without it using the second method.

to the content
Sensor calibration Android: programs, setting: Video
to the content
Self-configuration
In order to independently configure the touchscreen Android 4 (or another version) without any problems, we will present you with step-by-step instructions:
- The first step, of course, is to navigate to the 'Settings' menu.
- Next, select 'Phone Settings'.
- We find the item 'Calibration' and a cross-target with a dot inside will appear in front of you.
- We cash in the center of the target several times (3 will be enough).
- After that, your device will remember the touches and the calibration can be considered complete.
- After finishing the adjustment, check the sensor operation. If exactly the symbol that you clicked appears on the screen, then everything is done correctly. Congratulations!
to the content
Contacting the service center
Now you know two ways to independently calibrate the screen on your Android – device. But there is also a third option for setting up your device – this is an official or private service center. It would seem, why turn to the master for such a trifle? But this problem is not always a trifle. It happens that the cause of the breakdown is not in the knocked down settings, but in a serious breakdown or in the factory marriage of the display. In this case, it is really better to contact the service if the first two did not work.
to the content
