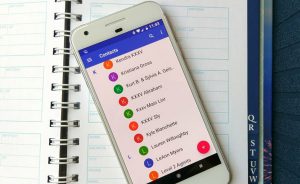
 The branded “Contacts” application from Asus has a number of key features from the standard application. We will consider them later in the article.
Add / edit contact
The menu for managing contacts in the application is on the top line. To add a contact, click the “+” icon to edit an existing contact – the pencil icon.
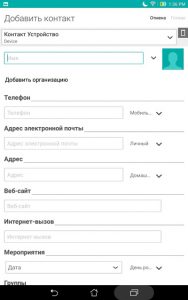
Let's add a contact. You will be prompted to add this either to your Google account or to your phone. It makes no difference here, because Google account is constantly synchronized with the phone. The following fields (optional) will be available: phone number, email, address (home or work), website, internet call, event (birthday, anniversary, other holiday), group the contact belongs to (friends, colleagues at work, customers).
to the content
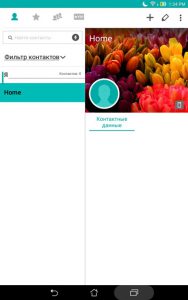
Contact types and groups
In the app, you can create several types of contacts: regular, favorites, grouped and VIP contacts. Account groups are also divided into categories: family, employees, best, frequent.
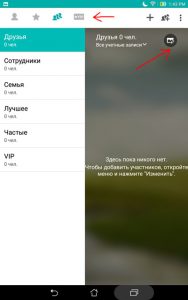
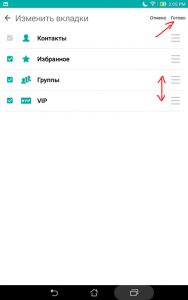
To add a contact to a group, open the menu and click “Edit”.
to the content
Settings and managing contacts
Click on the selected contact, then the three dots at the top right – an available menu will open in relation to this contact and a group of contacts in the notebook.
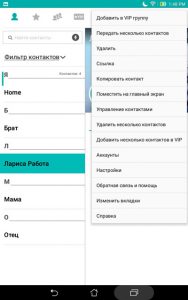
- Add to VIP group – adds the selected contact to the VIP group.
- Transfer multiple contacts. Select contacts and press “Send” via e-mail, to Google drive, via Bluetooth and to Gmail, WhatsApp. In this way, you can transfer all contacts to another device.
- Delete contact.
- Link to Contact – Links the selected contact to another.
- Copy the contact to your Google account or phone.
- Place on Home Screen – adds the Contacts widget to your desktop.
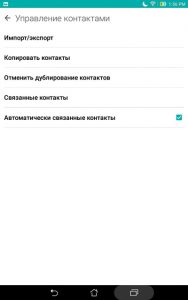
- Contact management:
- Import Export. Allows you to copy all contacts to a portable medium (memory card, flash drive) and vice versa, transfer from a flash drive to your phone.
- Copy contacts from Google account to phone and vice versa. The option is useful when you change your phone – this way you will not lose your contacts.
- Remove duplicate contacts.
- Show related contacts.
- Automatically linked contacts – on / off option.
- Delete multiple contacts. Just select the checkbox which you want to delete, press the “Delete” button.

- Add multiple contacts to VIP. By the same principle: select contacts and press “Add”.
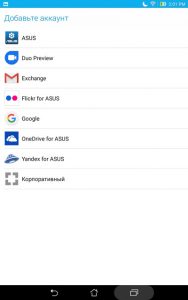
- Account – which accounts are currently used on the smartphone: Google, Yandex, Asus, OneDrive, Gmail, corporate.
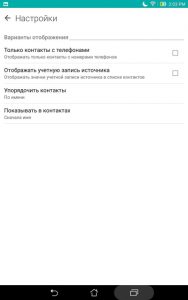
- Settings display contacts in the notebook. You can only display contacts with a phone number, display the source account, sort contacts by first / last name, show first / last name in the contact name first.
- Feedback and help, help.
- Change tabs – more precisely, the order in which contact types are displayed. Sort it as you like and click “Finish”.
Let's summarize. We learned how to create / edit contacts, organize them into groups and sort these groups. We learned how to import / export contacts from a USB flash drive to a phone and vice versa. We figured out how to save contacts to a Google account and transfer them to a new phone.